
Clay soil is what got me composting. Not an article about landfills, not guilt about the trash can. Just three raised beds out back that filled with water every spring and baked into brick by July. Loveland sits on some of the heaviest clay in northern Colorado, and after five years of gardening I finally accepted that no amount of watering was going to fix ground that drains like a coffee mug. What that ground needed was organic matter, and the steadiest supply of it in my house walked out of my kitchen every day as potato peels, coffee grounds and zucchini ends.
For two summers I bought bags of compost and worked them in. It helped. It also meant a drive across town every few weeks, and paying to throw vegetable scraps away in one place and buy them back in another. Nora, my fifteen-year-old granddaughter, pointed that out in the tone only a teenager can manage. So last March, before planting, I set an Epica countertop compost bin on the counter left of my sink and started collecting instead of tossing. It has been through a full season and then some now, and here is the whole process in the order I wish someone had explained it.
The bin that turned my peelings into next spring's tomato bed
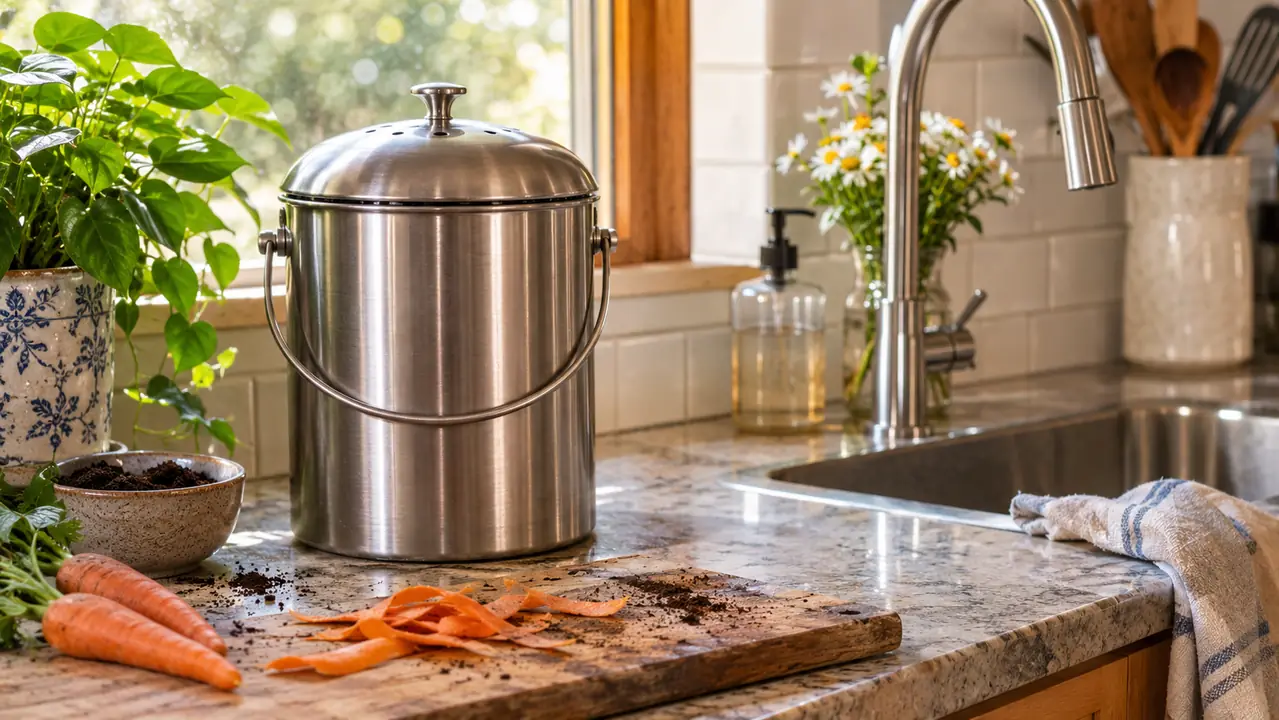
The Epica holds 1.3 gallons, which is about three days of scraps for one household, with an airtight lid and a replaceable activated charcoal filter that keeps the kitchen from smelling like the pile out back. Mine has sat by the sink since last March.
Amazon Check Today's Price on Amazon →Step 1: Put the bin where you can see it from the cutting board
The change that made this stick was not a technique, it was a location. My bin sits on the counter to the left of the sink, between the dish soap and the coffee maker, which means I pass it eleven times before lunch. It measures 7.16 inches across and 11 inches tall, so it takes less counter than my stand mixer and I never had to rearrange a thing to fit it.
Before that I tried a mixing bowl. It filled, it got soupy, and I dumped it in the trash out of irritation. Then a plastic tub under the sink, which I forgot about for three weeks and will not describe further. Both times the lesson was the same. If the container is behind a door, the scraps go in the garbage. If it is in your line of sight while you are holding a potato peeler, they do not.
Two things earned their keep once it was in place. The lid closes airtight, so the kitchen does not smell like a compost pile in August, and the replaceable activated charcoal filter handles whatever the lid misses. When I do catch a whiff, that is my cue that it is past time to carry it out, not that the bin has failed. That distinction matters, because a bin you trust is a bin you keep using.
Step 2: Learn the green and brown rule before the bin fills
Composting is a ratio, not a pile. Greens are the wet, fresh stuff, and they carry nitrogen. Browns are the dry, dead stuff, and they carry carbon. Kitchen scraps are greens. Shredded leaves, newspaper and plain cardboard are browns. My clay needs both, but it needs the browns more, because clay is already dense and wet and the last thing it needs is more mush.
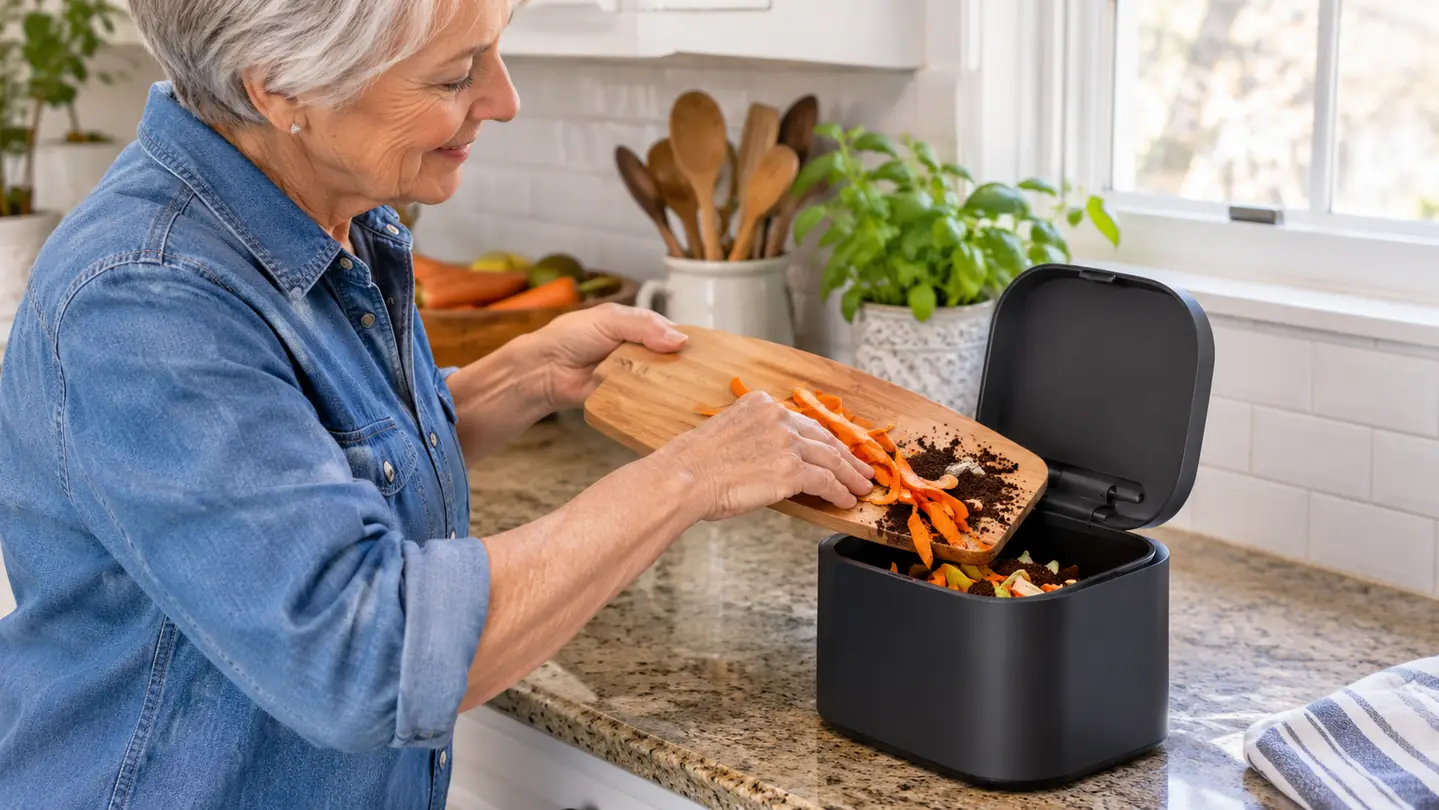
What goes in the bin: peels, cores, ends, coffee grounds and the paper filter, tea leaves, crushed eggshells, wilted lettuce, herbs gone by, the soft spot on a tomato. Cut anything big into pieces, because a whole corn cob will still be a corn cob next spring. I keep a paring knife on the board and it takes about four seconds, which is four seconds I have.
What stays out: meat, bones, fish, dairy, grease, oil and pet waste. Also produce stickers, rubber bands, twist ties, and the plastic window from a box of crackers. Those last few are the ones that end up in your finished compost and then in your hand in July. I keep a small bowl for the non-compostable bits and it goes out with the recycling.
Step 3: Empty on a schedule, not on a smell
Mine fills in about three days, and I carry it out twice a week, usually Tuesday and Saturday. Caleb, my grandson, does the carrying when he is here, mostly because he likes the excuse to be outside. A 1.3 gallon bin emptied twice a week is roughly two and a half gallons of scraps that used to go to the curb.
Two and a half gallons a week, over thirty weeks of Colorado gardening weather, is a lot of organic matter that used to leave my house in a truck.
The filter needs a rinse now and then and a few hours to air dry. Do not soak it, that ruins the charcoal. Epica says each filter lasts three to six months, and mine has run about that long. I keep a spare in the drawer so I am never tempted to run the bin without one and end up with a kitchen that smells like a lawn waste bag.
Wash the bin itself with warm water and dish soap every couple of weeks, and dry it before it goes back on the counter. If you skip that, the rim gets grim and the whole thing starts to feel like a chore. Ten minutes on a Saturday morning keeps it pleasant enough that I keep doing it without thinking about it.
By September, when the fruit flies arrive, do not fight them on the counter. Bury the fresh scraps in the middle of the outdoor pile instead of dropping them on top, and keep the lid seated between trips. That solved it for me in a week.
Step 4: Build the pile in layers instead of heaping it
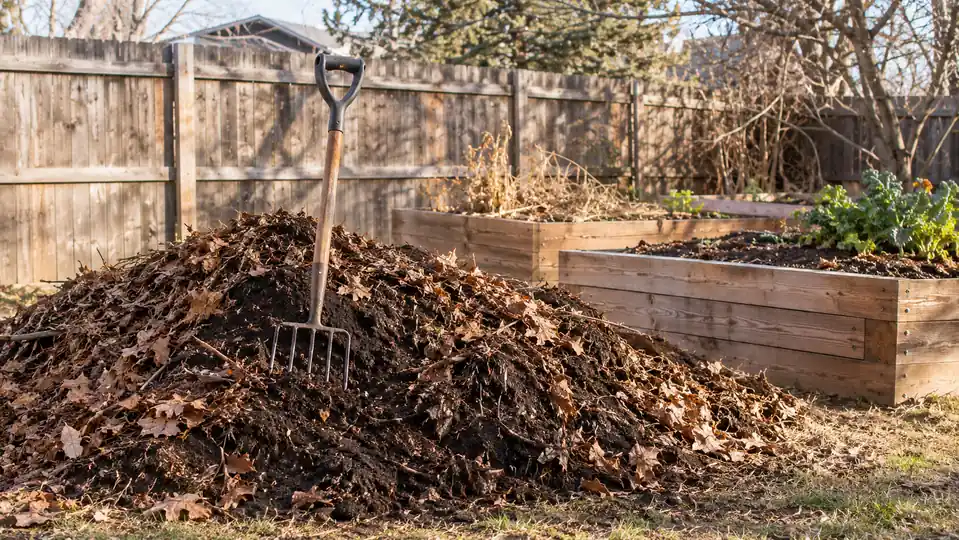
My pile lives behind the raised beds, about three feet across and maybe two feet high by midsummer. Every bucket of scraps gets a matching bucket of shredded leaves and a scoop of finished compost or garden soil. Layer, water, layer, water. It is not fussy, but it is deliberate, and the difference between a pile that works and a pile that sits there is mostly that one habit.
Roughly one part greens to two or three parts browns by volume. Turn it with a fork every week or two, and check moisture by squeezing a handful. It should feel like a wrung-out sponge. If it smells sour or looks slimy, it is too wet, so add leaves and turn it. If nothing is happening at all, it is too dry, so water it and turn it again.
Keep diseased tomato vines, weed heads and anything you would not want sprouting in a bed out of the pile. A home pile does not get hot enough to kill those reliably. Mine goes in the trash, which is the one exception I make all year, and I make it without guilt.
Step 5: Let the calendar and the clay finish the job
A Colorado winter will freeze the pile solid and stop everything for three months. That is fine, and it is not failure. Come April, fork the whole thing over and you will find the finished material at the bottom, dark and crumbly and smelling like a forest floor. Screen it over a wheelbarrow with a piece of hardware cloth and throw the big chunks back in to start over.
I work two or three inches of it into the top six inches of each bed, along with whatever bags of compost I still buy for the patio pots. The first year the difference was modest. By the second fall I could push a trowel into the tomato bed without leaning on it, which for Loveland clay is saying something.
Be honest with yourself about the timeline. One season of kitchen scraps will not fix clay soil. My beds are better after two, and I expect them to keep improving for as long as I keep carrying the bucket out. Composting is not a project you finish, it is a habit you keep.
What I'd Do Differently
I would have started the leaf can in October instead of the following spring. My first pile went in heavy on greens because that is what the kitchen produces, and light on browns because the yard had nothing to give in March. It went sour and slow until I bought a bale of straw to bail myself out. Collecting leaves in the fall costs nothing and solves the problem before it starts.
I also would have bought the bin a year earlier instead of talking myself out of it. I spent one whole summer carrying scraps to the outdoor pile in a cottage cheese tub that leaked on my shoes. That is not a savings, it is a tax on your own patience.
What Else Helps
Leaves are the cheapest brown you will ever get, and most people bag them at the curb in October. I collect mine, run the mower over them once, and keep them in a galvanized can beside the pile. That can gets me through the winter, when the kitchen keeps producing greens and the yard produces nothing.
Grass clippings work in thin layers, an inch or so at a time, and only if you have not used a weed and feed product on the lawn. Clumped clippings mat down and go anaerobic, which is the sour smell again. Spread them, do not dump them.
A second pile would let one batch finish while the other fills, and a dedicated fork that lives beside the pile saves you a walk every single time. Neither is required to start. A tarp over the top is worth more than both, because it keeps the moisture even through a dry Colorado June.
If You Only Do One Thing
If you take nothing else from this, put the bin where you can see it. Not in a cupboard, not in the garage, not on a shelf behind the stand mixer. On the counter, within arm's reach of where you chop. Everything else, the layers, the turning, the screening, follows from that one decision, because a bin you actually use is the only kind that ever turns into compost.
Nora asked me last summer whether it was worth it. I told her the honest answer, which is that I spend about ten minutes a week on scraps I used to throw away, and my tomatoes were better for it. She rolled her eyes, which at fifteen is roughly a standing ovation.
One season of scraps and the clay starts to give
The Epica countertop bin holds 1.3 gallons, fits in 7.16 inches of counter, and ships with an activated charcoal filter that runs three to six months. If you are starting the way I did, this is the piece to start with.
Amazon See the Epica Compost Bin on Amazon →